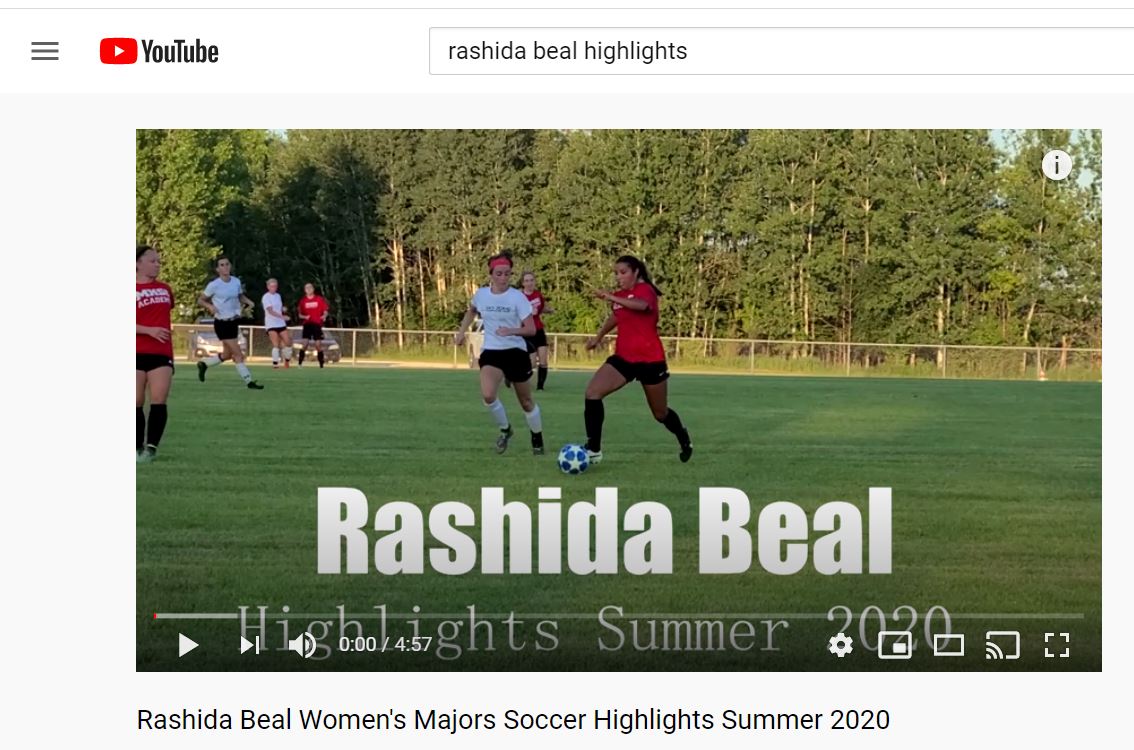
Having a highlight video is very important in sports, especially during the dead period in recruiting. Whether you are a prospective college or professional athlete, you’ll need to highlight film to show your skills to coaches around the world.
The challenge is that hiring a professional to create your highlight video is very expensive. Luckily, it’s quite easy to create your own sports highlight video. After making a couple of my own, here’s what I’ve learned about how to make your own sports highlight video.
Filming
The first step to making your highlight tape is to get film. If possible, I recommend filming the entire game. However, that’s not always possible. If you don’t have a camera suitable for filming for a long time, then try to just get clips. Ask a family member or friend to film clips. Ideally, choose someone that knows the sport and can anticipate when you’ll be in the play. If they do this method, they should try to hit record as you enter a play and then stop recording once it’s over.
Filming tips:
- Film the entire game vs film clips
- Use a good quality camera, most modern cell phones will suffice.
- Put the camera on a tripod for stability.
- Get the right angle. Try to have the person filming in stands and near the middle of the court. You want to be able to see the entire play, not just you.
Editing Step 1: Choosing Clips
Next, you’ll need to go through and select clips. If you recorded the whole game, then you’ll need to watch it all and save the specific clips you want. To do this, I opened the video in Microsoft movies and TV player, and then I clicked the pen icon on the bottom and “Trim”. In the “Trim” feature, I could select and save certain clips.
If you have your family or friend try to film clips, then you’ll want to go through them. Watch all of the clips. Delete any that did not get you in the play or that are low quality. Choose only the top clips.
Tips:
- Pick only the very best clips, not average plays or ones where you cannot see what’s happening.
- Watch all clips first then start sorting them out.
- Don’t delete clips, just move them to a separate folder in case you do end up needing them.
Editing Step 2: Combine and Edit Clips
Next, it’s time to combine the clips. You can use any simple editor that comes on your computer, but I use Sony Vegas Pro because I already have it. First, add an intro screen with your name and the title of the highlights.
Next, you’ll add the clips. Here are some tips:
- Put your best clips first
- Trim any clips to only show the most relevant play
- Add an arrow to point to yourself in the clip if it’s unclear
- Add simple music
Render and Publish
Once you have your clips combined and edited, it’s time to render the video and upload your highlights. How to render your video will depend on what program you use and where you plan to upload. I suggest looking up the best YouTube render settings for your project.
Render your video (which saves it as a finished video) and then upload it. Head to YouTube and click the upload button. Drag in your video file. As it uploads, add the information about your highlight video like your name, school, position, contact email, etc. Upload a simple thumbnail, like a photo of you playing.
Share Your Highlight Video
The last step is to share your highlight video! You can easily send the link to college or professional scouts, your coaches, teammates, friends, and more. Consider adding the link to your social media sites or websites as well.
Tips for Making Your Own Highlight Video
- Keep the video short, under 5 minutes.
- Pick your very best clips.
- Make sure it’s clear which player you are in each clip.
- Try to put your best clips first.
- Practice makes perfect, don’t be afraid to go back and redo the video as you improve.
